Hello everyone! I’ve reached a point where I am tired of winter and making
snow themed cards. So today I’m bringing you something full of color using
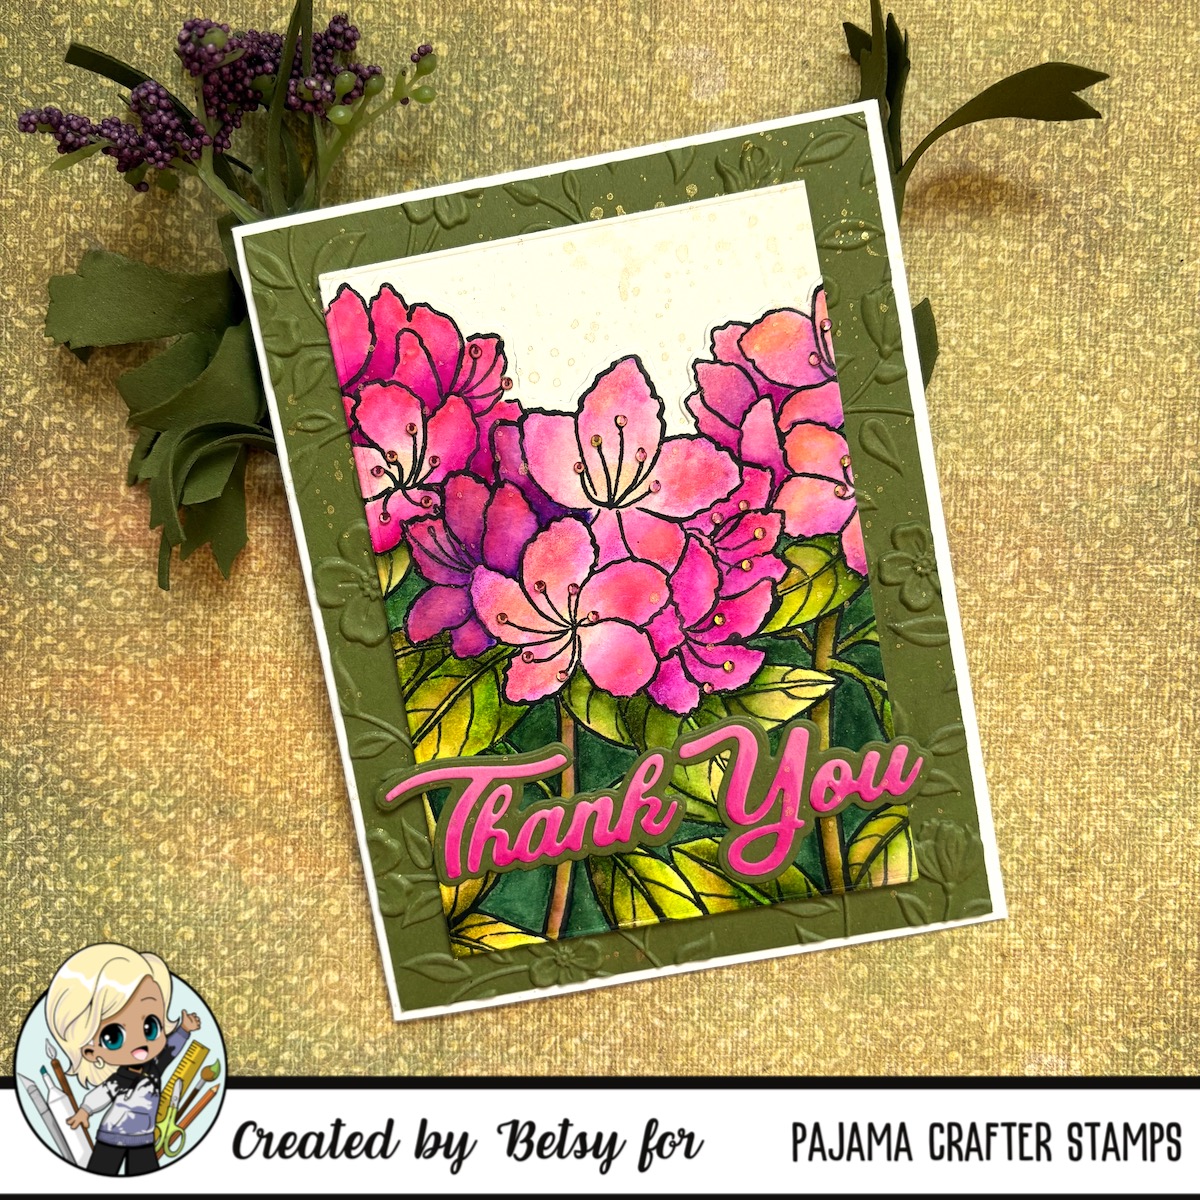
Azalea Stamp and Die
Shadow Words Thank You Dies
I had a picture from a friend that inspired the coloring of this Azalea. They
are so pretty! I started by stamping my image onto Bristol vellum paper. I was going
to use my Zig Clean Color Real Brush Markers and they work the very beston this type of paper.

I stamped the image with a black hybrid ink and I knew I was going to
want to die cut the image when my coloring was finished. I took my time
coloring because I really had an idea in my head that I wanted to see in
my final outcome.

I started out using the Blender pen that is part of the Zig set, but I soon
realized that I would probably use up the whole pen and switching back
and forth from green to pink…so I switched to a water brush and just wet
the area I wanted to paint and then went in with the pen. The difference
between using the blender vs the water pen is that the blender pen will
not wash out the color of ink, whereas with the water pen it will.

As I said, I took my time with the coloring, switching back and forth
from the greens to pinks.

I used a rectangle die to die cut the image and then used the
coordinating die at the top of the image. I chose my background paper
which was some pretty olive green card stock and cut an A2 size
panel and used a 3D embossing folder on it.

I realized that I had to put the white back behind the flowers. Without
it the flowers got lost. For the sentiment I used the Shadow Words Thank
You dies. I cut the shadow from the olive green card stock and I cut
the letters from a coordinating pink card stock. To add interest to the
sentiment I used a darker shade of pink Copic and shaded the bottom
of the letters. I mounted the olive panel to an A2 white top folding card
base. The I used thin foam to adhere the flower panel. I adhered the
sentiment across the bottom. For finishing touches I splattered the entire
card with metallic gold and then added tiny gems to the stamens.
And that finished my card!

I hope you enjoyed this tutorial and that I’ve given you lots of inspiration
for your next floral project.
Zig Clean Color Clear Markers used:
S. Almond Pink 200
Lt. Pink 026
Lt. Carmine 021
Peach Pink 202
Dk. Pink 027
Purple 082
Lt. Violet 081
Deep Violet 084
Pale Yellow 055
Lemon Yellow 051
Pale Green 045
Lt. Green 041
May Green 047
Deep Green 044
Mid Green 046
Olive Green 043
Copic Markers: RV06
Til next time…
Betsy