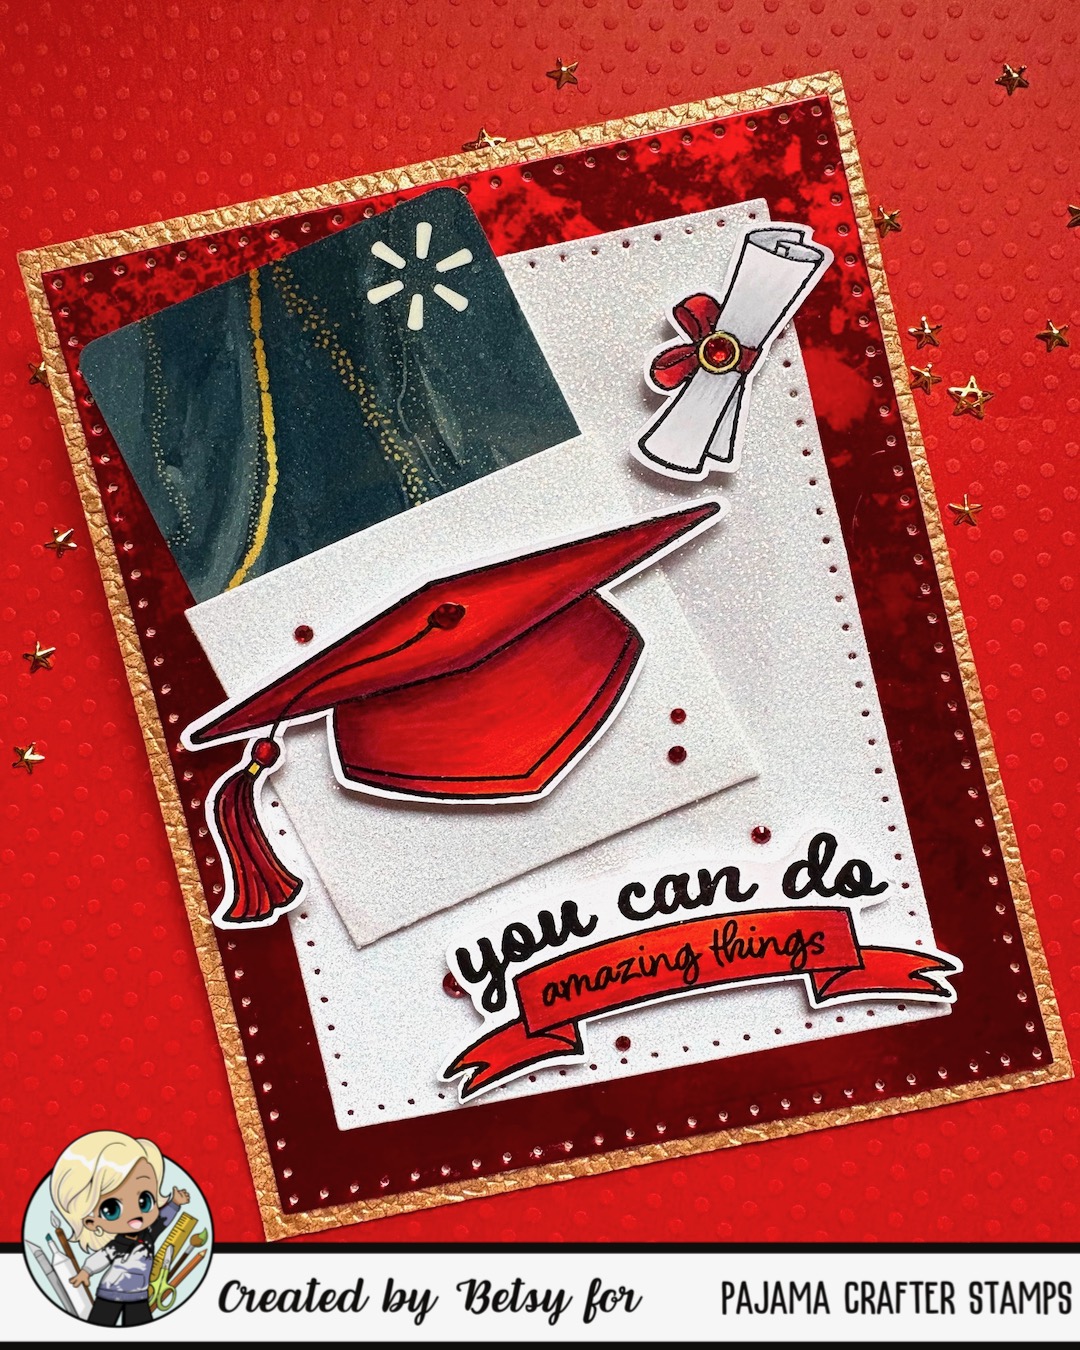
Hello everyone! Betsy here today sharing this bright graduation card! I love making cards for special occasions and this was fun and relatively easy! I used the Hats Off Stamp Set and the Lady Bug Gift Card Holder die set.Let me show you how I made my card.I first stamped out the images I wanted to use onto white card stock. Iused black pigment ink and heat embossed it with clear embossing powder.

Although embossing powder is not good for your Copic markers over time, I was quite careful in my coloring to not go over the embossed part. Next I die cut my background pieces.

I die cut a panel of very textured gold card stock as the very back piece. I used a mottled red mirri-board as my next layer using a die. Using a smaller die from the same set, I die cut a panel out of white glitter paper. Next was the coloring.

Obviously my theme was red and white. Except for 2 gray markers, I only used reds to color with.

I love how rich I was able to get the red. Sometimes when elements I’m coloring don’t look good, I try to keep going because by adding more color the blending is deepened. Not much coloring on the diploma and sentiment.

After the coloring was done, I fussy cut my images leaving a narrow white margin around the pieces. Next, I die cut the gift card holder out of white glitter paper. I cut the top extended part off. I used multiple pairs of reverse tweezers to hold it the back bits together.

Once that glue was dry, all of my pieces were ready to assemble.

I adhered the gift card holder first. I did use 4 pairs of reverse tweezer to hold it in place – glitter paper is very stubborn! I adhered this at an angle and that made my card a little more interesting. I foam taped (with liquid glue dabbed on each piece) and adhered the rest of the elements. I used a gold metallic pen and used it for the ring of the medallion on the diploma and and the tiny metal part on the tassel. I embellished with some bright red gems and my card was finished!

I hope you enjoyed today’s tutorial. It’s one of those cards that you could customize so easily with school colors!
Supplies used:
Copic colors: C1, 3, R02, R05, R14, R27, R37, R59
Several specialty papers
White glitter paper
Foam Tape & Liquid glue
Red gems
Til next time…
Betsy