Hello everyone! Today I’m sharing this sweet floral card using
these products:
This stamp set makes such a sweet card. Most of the sentiments are
spring related, but with another sentiment it works for every occasion!
Let me show you how I made my card.
I first stamped and die cut my images onto white card stock. I die cut
the images first so I wouldn’t have to start over if I messed up – LOL!
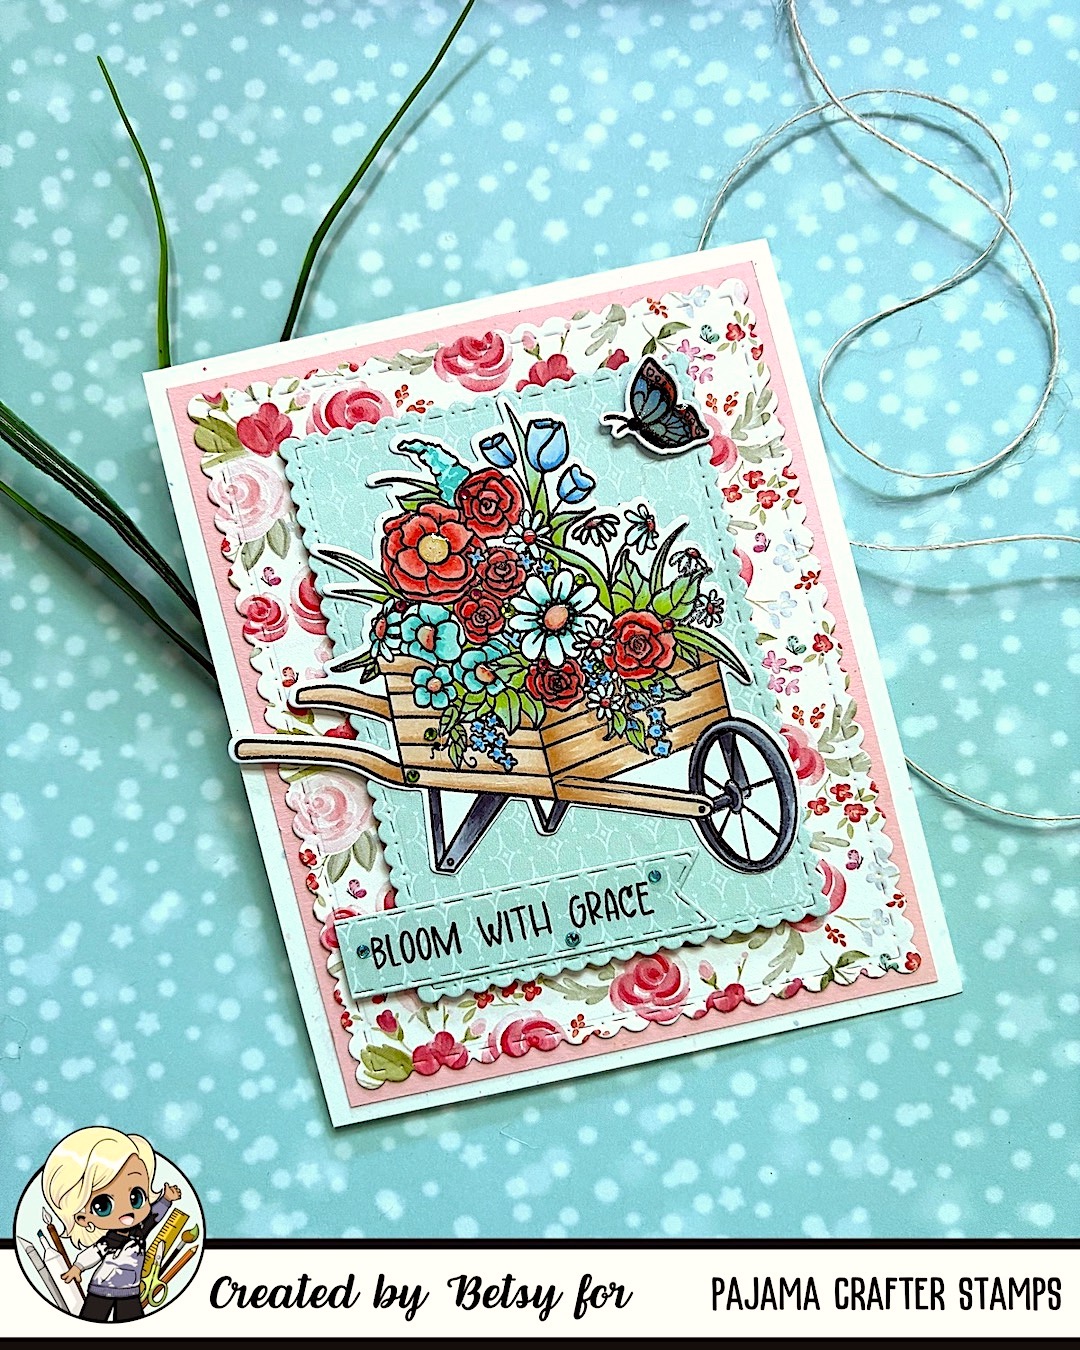
I also picked out my papers for my card base. I used a white speckled card
stock for my A2 size card base, then a panel of pink card stock, then a panel of
flowered card stock that was die cut using a need scalloped rectangle
die and then finally an aqua panel die cut with another of the same set
of scalloped rectangle dies.

I also stamped and die cut a banner. Next it was time
to color up the images. I decided I wasn’t going to use the
watering can so I saved it for another project.

I put a layer of the lightest color onto the parts of the image. This
serves as sort of a map to make sure I didn’t color something in error.

I was quite pleased with how the coloring turned out. I wanted it to
stand out from the background, but not totally overtake it. It didn’t
take long to color and I kept the bend fairly easy. I used the colors
in the floral paper as my guide to color choices.
Copic colors used: E30, E34, YR31, B41, B32, B34, BG11, BG13,
G12, YG03, R20, R24, R14, C2, C7, C5, C3

I adhered my aqua panel with thin foam tape. I added the sentiment in the
lower left corner trimming off the straight end to fit. I added the butterfly
with foam tape. I used a shimmer pen on the flower center and the butterfly.
I did a bit of black pen work on the butterfly and then wherever I had used
the shimmer pen I used Glossy Accents. Then I sprinkled some tiny
gems around the image for a bit of sparkle. And that finished my card!

I hope you enjoyed today’s tutorial. Such a sweet card with images
that could be used for so may things!
Til next time…Betsy