

Summer Week with Pajama Crafter Stamps

As Summer Week comes to a close, I couldn’t resist sharing one more sunny adventure! Today’s project features one of the cutest little pirates you’ll ever meet, proving that summer is the perfect season for imagination, bright colors, and handmade smiles.
For this card, I wanted to create the feeling of a pirate sailing across sparkling ocean waves in search of hidden treasure. By combining layered dies, embossing, and Copic coloring techniques, I created a scene full of texture, movement, and dimension that is surprisingly easy to recreate.
One of my favorite parts of this project is that almost the entire card was created using Marshmallow Cardstock from Pajama Crafter Stamps. With a few simple techniques, one sheet of white cardstock becomes an ocean, a sandy beach, and beautifully coordinated layered panels.
Meet My Little Pirate

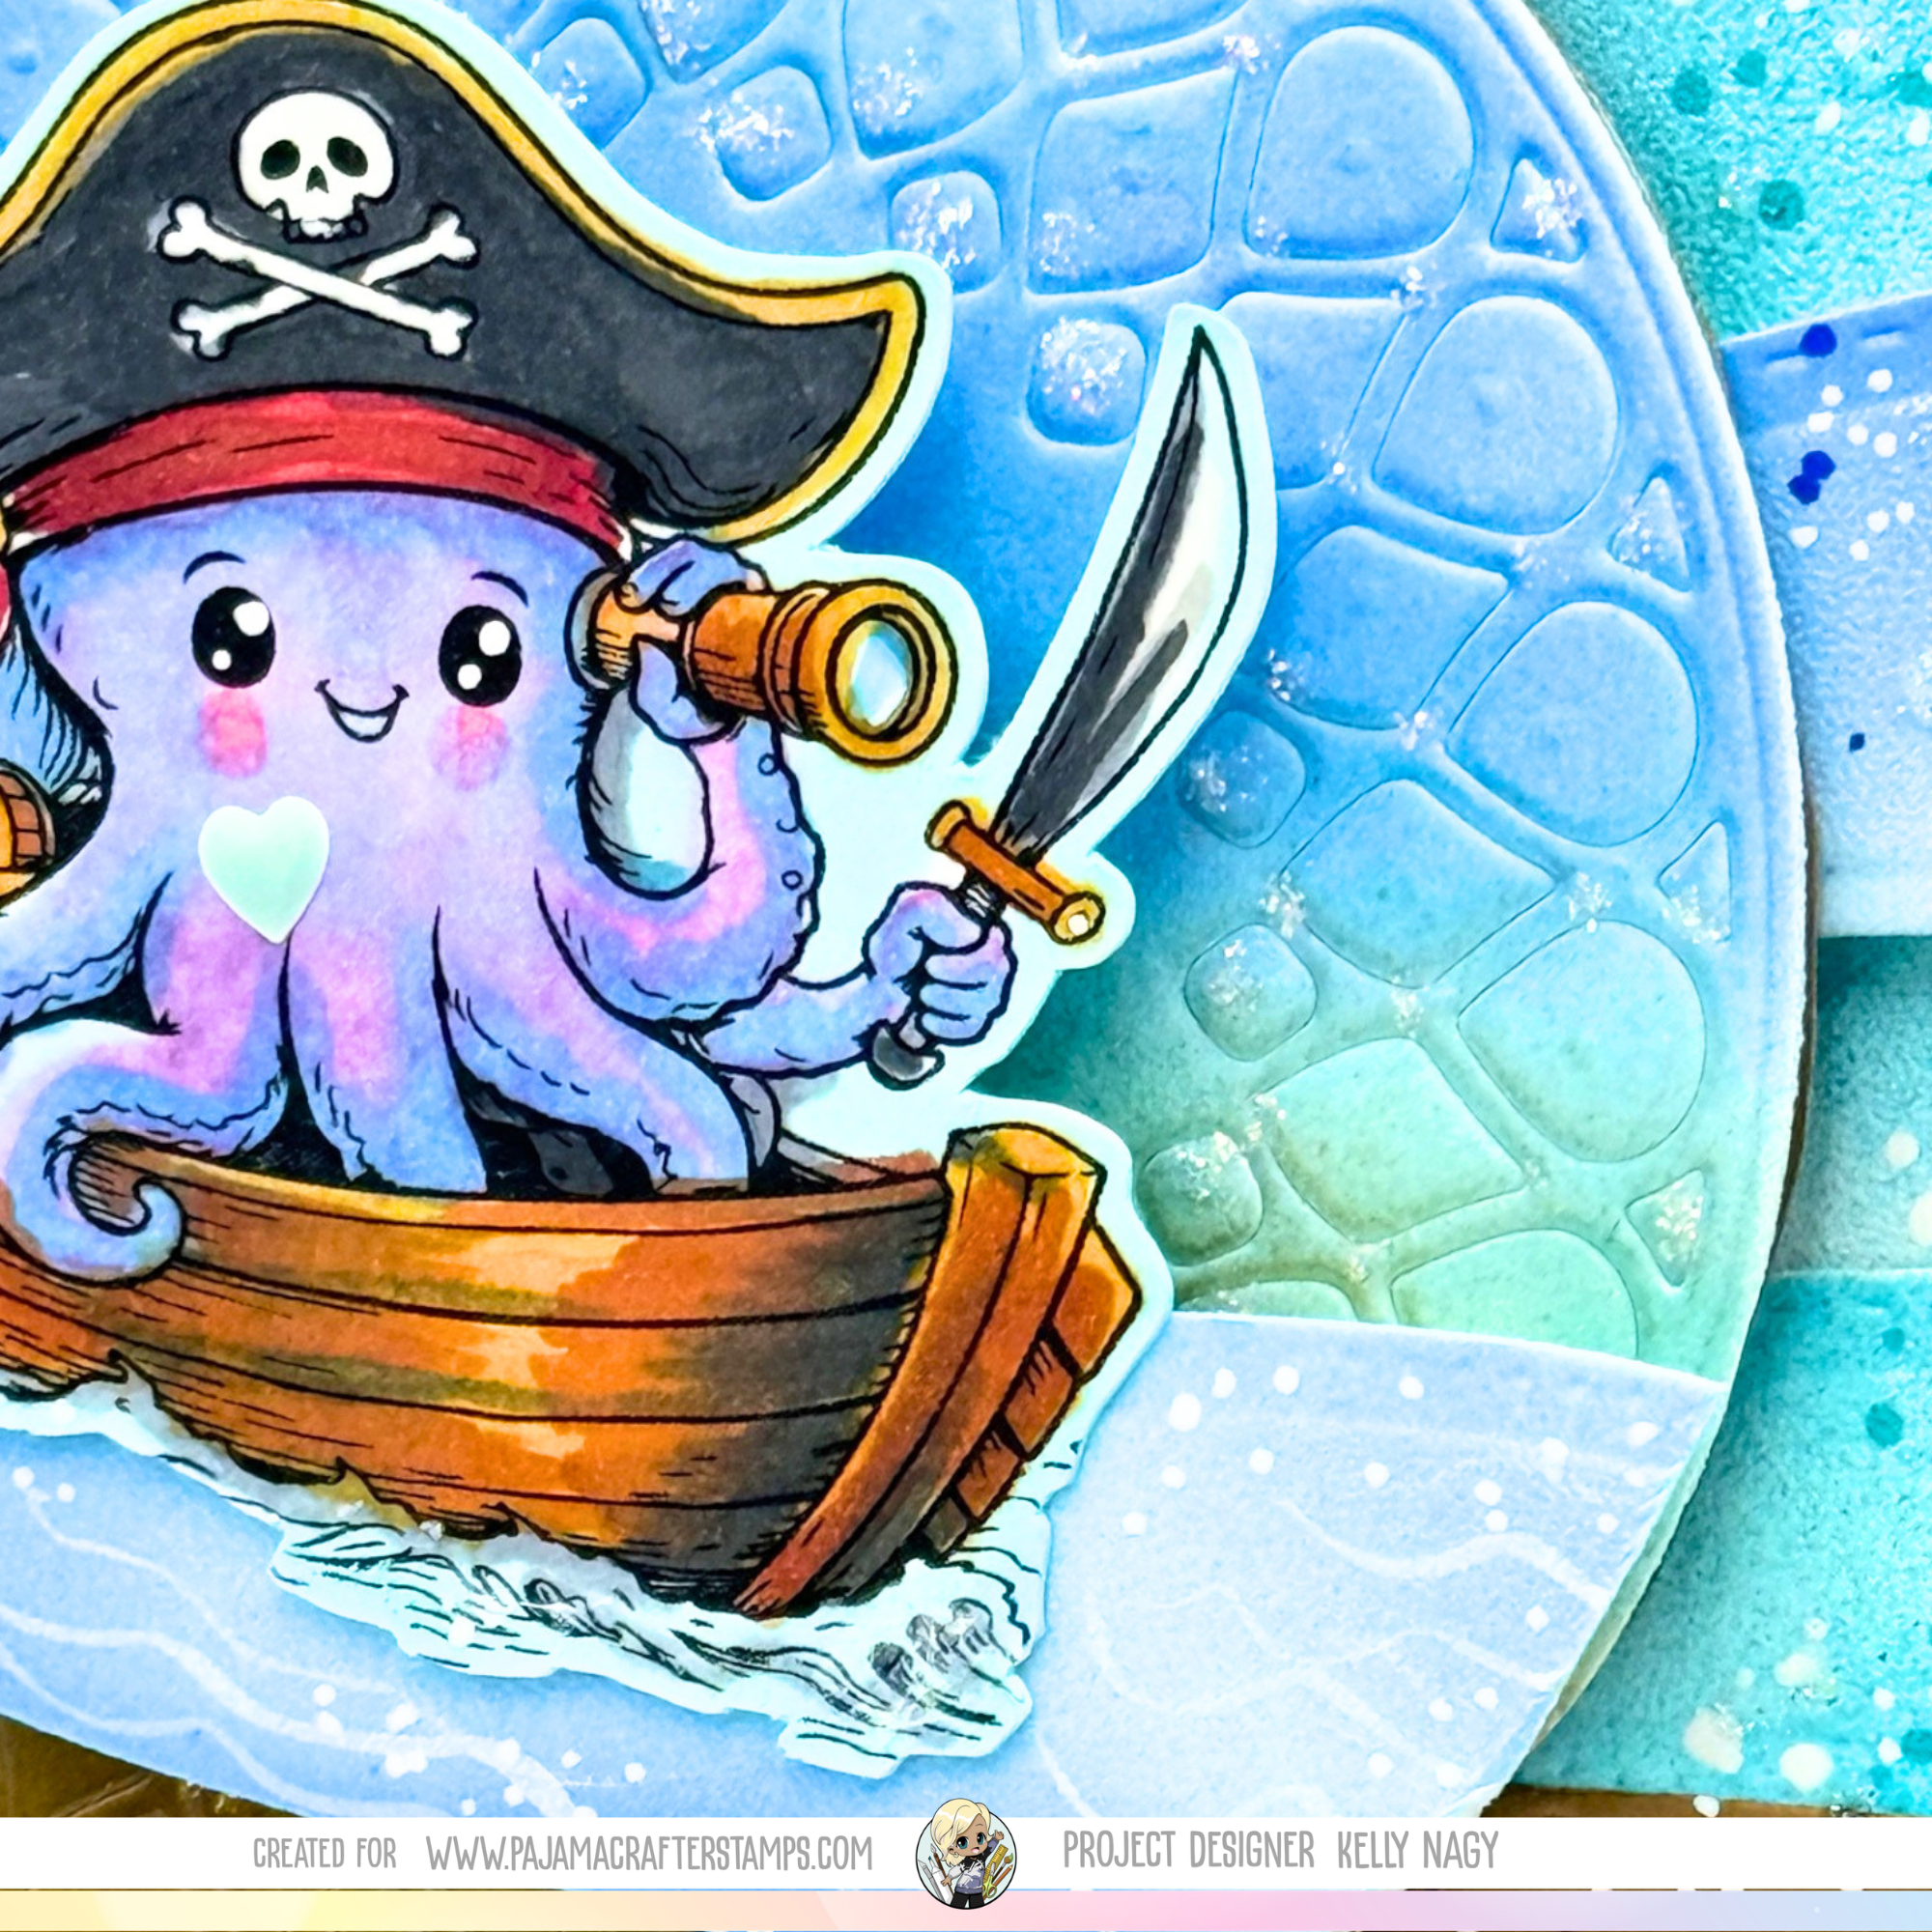
The adorable pirate from the Kraken Good Day Stamp Set immediately stole my heart!
Rather than using a coordinating die, I chose to fussy cut the image with my detail scissors. I enjoy fussy cutting because it allows me to leave a narrow white border around the image while giving me complete control over how it fits into my card design.
I colored the pirate using coordinating Copic markers in soft purples and blues before adding rosy cheeks and white gel pen highlights to bring him to life. His tiny wooden boat, pirate hat, sword, and telescope are packed with charming details that make this image an absolute joy to color.
The sentiment “You Octopi My Heart” makes this card perfect for a friendship card, anniversary, Valentine’s Day, or simply letting someone know they’re loved.
Building the Background

Rather than reaching for patterned paper, I built most of this seaside scene using Marshmallow Cardstock from Pajama Crafter Stamps.
The rolling ocean waves and sandy shoreline were created using the Stitched Scalloped Border Die Set, layering multiple die cuts to create depth and movement.
Instead of purchasing cardstock in every coordinating color, I colored the exposed edges of each cardstock layer using the same Copic markers I used on my stamped image using either a light flick or the Copic AirBrush attachment. This creates the illusion of perfectly coordinated cardstock while ensuring every layer matches my coloring exactly.
Behind the pirate, I used the Circle Peek-A-Boo Die in a slightly different way than intended.
Rather than cutting the design completely, I embossed the die into the cardstock. The subtle texture reminds me of weathered stone, sea glass, or a hidden pirate island while keeping the pirate as the focal point of the design.
To finish the background, I created my splatter using the tips of my coordinating Copic markers, varying the pressure to make dots in different sizes. This creates wonderful movement while keeping every color perfectly coordinated with the rest of the project.
Kelly’s Pro Tips

Stretch Your Cardstock
One of my favorite ways to stretch my cardstock collection is to start with Marshmallow Cardstock from Pajama Crafter Stamps.
Instead of purchasing cardstock in every color imaginable, simply color the exposed edges of your white cardstock panels with the same Copic markers you used on your stamped image. The result is custom-colored mats that coordinate perfectly with your project every single time.
Not only does this save money and storage space, but it also creates a polished, professional finish.
Create Custom Splatter
Instead of reaching for paint, try using the fine tip of your coordinating Copic markers to create splatter. By varying the pressure, you can create dots in different sizes that add movement and interest across your background.
Because you’re using the same markers that colored your image, everything coordinates beautifully.
To finish my card, I added a few highlights with a white gel pen and completed the design with coordinating embellishments from Pajama Crafter Stamps, available in a variety of colors, shapes, and sizes.
Creating Movement with Border Dies

The Stitched Scalloped Border Die Set is one of those products you’ll reach for over and over again.
For this project I used multiple cuts to create:
- Rolling ocean waves
- Sandy shoreline
- Layered dimension
- Natural movement across the card
By simply adjusting the spacing and layering, these borders can become ocean waves, grassy hills, rolling snowbanks, desert dunes, or so much more.
Before the Color Kraken

Here’s a peek at the project before the image was colored.
I enjoy building my card layout first so I know exactly where the focal image will sit. Once everything is arranged, I color the stamped image to coordinate perfectly with the completed background.
Planning the layout ahead of time also helps determine where foam adhesive will create the most depth and visual interest.
Supplies Used
Pajama Crafter Stamps Products
- Kraken Good Day Stamp Set
- Circle Peek-A-Boo Die
- Stitched Scalloped Border Die Set
- Marshmallow Cardstock
- Coordinating Embellishments
Additional Supplies
- Copic Markers
- White Gel Pen
- Foam Adhesive
- Detail Scissors (for fussy cutting)
Shop Pajama Crafter Stamps
If today’s project inspires you, I’d love for you to visit Pajama Crafter Stamps using my affiliate link.
🛒 Shop Here
Shopping through my affiliate link never costs you anything extra, but it helps support the tutorials and inspiration I love sharing. Thank you so much for your support!
Thanks for Visiting!
Thank you so much for stopping by today! I hope this little pirate inspires you to pull out your favorite supplies and create your own seaside adventure.
Whether you’re crafting for a special occasion or simply because it brings you joy, I hope you’ll give these techniques a try and make them your own.
If you recreate this project, I’d love to see what you make! Be sure to tag @PajamaCrafterStamps and @StampedByKelly so we can admire your beautiful creations. You can also see additional photos and Copic Combos on my personal blog www.stampedbykelly.blog.
Happy Crafting!
Kelly Nagy
Design Team Member
Pajama Crafter Stamps
Affiliate Disclosure
This post contains affiliate links. If you make a purchase through my affiliate link, I may earn a small commission at no additional cost to you. Thank you for supporting Pajama Crafter Stamps and the inspiration I love sharing with you!