
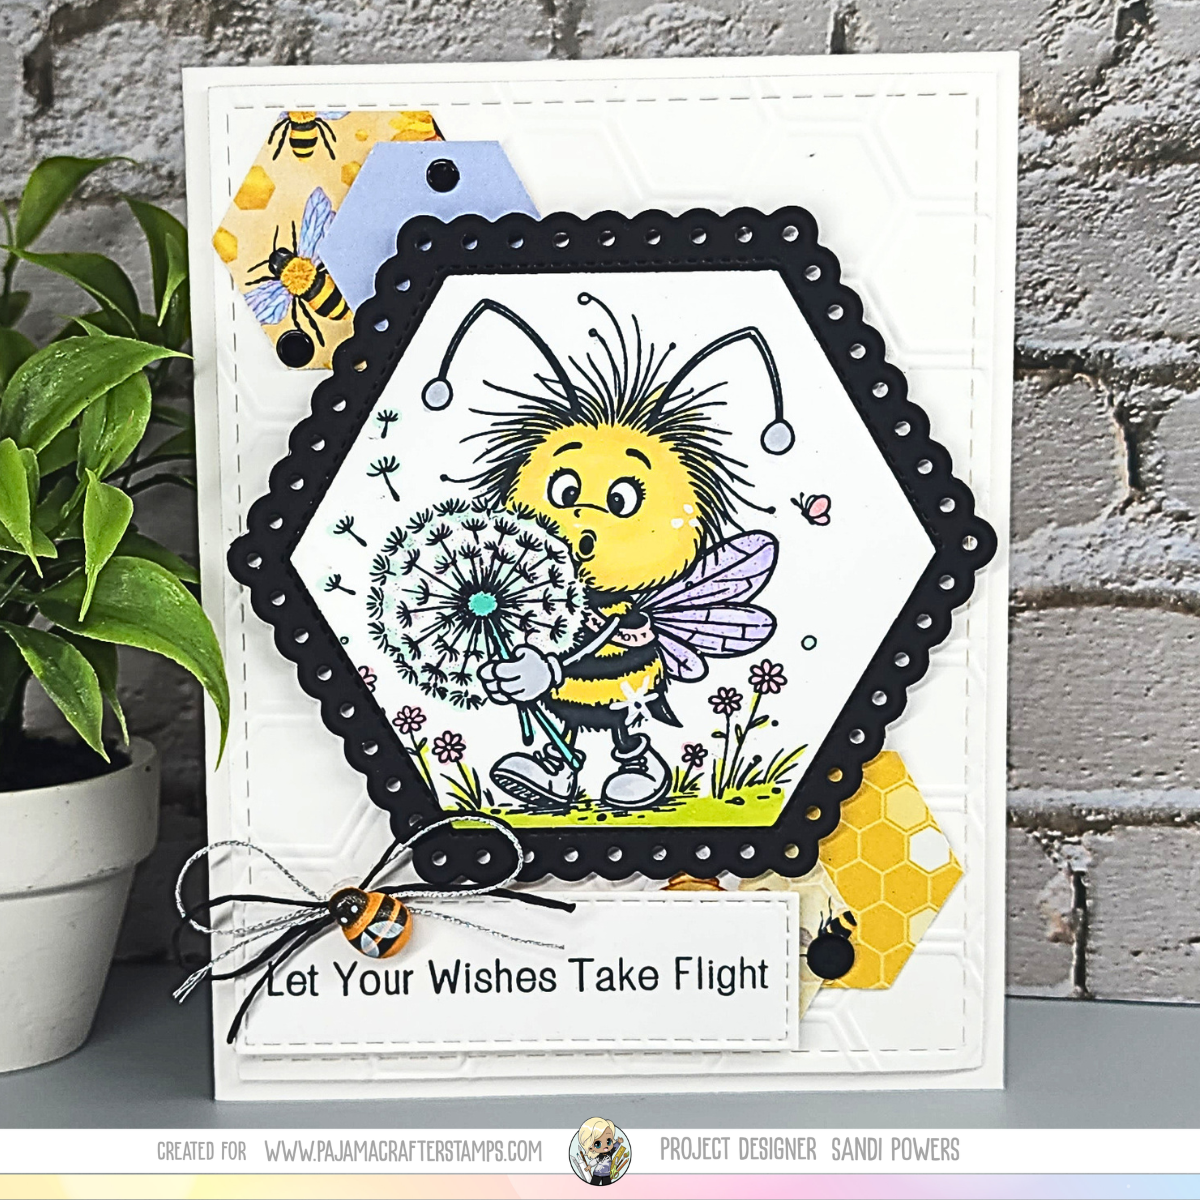
I, like many cardmakers, love efficiency almost as much as I love pretty paper, and this sweet as honey approach delivers both. Today’s project shows how a single prep session — one coordinated palette, one set of cuts, and one cohesive theme — can turn into multiple handmade cards that look polished, intentional, and wonderfully stash‑friendly.
Whether you’re building cards for challenges, gifting, or simply stocking your stash for future occasions, this bee‑themed workflow helps you create more while using less.

Why Prep‑Once Cardmaking Works
The magic of this method is simple: Create your design once— colors, patterns, cuts, focal images — and then repeat the design across several cards. This keeps your creative energy focused while letting your supplies stretch further.
Select your foundational card elements:
- coordinated paper packs
- themed die sets
- repeating shapes like hexagons
- focal images that work in multiple layouts
The “Buzzin’ By” bee theme is perfect for this because the honeycomb shapes, warm yellows, and calm purples harmonize across multiple designs. I used the same elements to create both vertical and horizontal cards.
Step 1: Choose Your Core Elements
Start with a unified set of supplies that will appear on every card. For this series, the essentials include:
- Warm yellows + soft purples for a calm, which are pulled in from The Bee’s Knees Paper Pack set the color palette
- Bold black accents for contrast
- Honeycomb patterns for theme consistency
- Scalloped hexagon frame draws the eye to the focal bee image
- A focal image — like the adorable bee from Buzzin’ By Stamp Set
- Embellishments – such as these cute Wooden Bumble Bee Embellishments to highlight the sentiment and focal image
These elements become your “recipe,” and every card you make will follow it.

Step 2: Prep Your Elements at Once
This is where the stash‑stretching magic happens. Prep your papers, die cuts, stamping, and sentiments all at once. I decided on a quantity of ten of each element.
- cut and score 10 card bases
- embossed 10 panels with a honeycomb folder from my stash, then cut with a stitched panel die for my base panel
- stamped 10 bees and sentiments from Buzzin’ By Stamp Set with an alcohol-friendly ink, then die cut
- die cut 10 black scallop frames to highlight the focal image
- punched the two sizes of hexagons from The Bee’s Knees paper pack for accent
By batch prepping your elements, you eliminate the stop‑and‑start rhythm that slows down cardmaking. You also ensure every card feels related without being identical. You can choose to color your focal image all at once or you can totally do that during your assembly process.
Step 3: Build Your Layers
Layering is what gives your Sweet as Honey cards their depth and charm.
Use your pre‑cut pieces to assemble:
- a card base
- a honeycomb embossed panel
- a black frame +stamped focal image (color now if you have not colored already)
- two hexagon die cuts on each “corner” of your focal image – alternating paper pattern
Because everything is prepped, assembly becomes fast and fun — like putting together a kit you designed yourself.
Step 4: Add Your Sentiment and Embellishments
- add your stamped and die cut sentiment – pop this up on foam tape for extra dimension
- add a bow from some twine or ribbon from you stash to draw the eye to the sentiment
- add a sweet Wood Bumble Bee Embellishment and/or bling from your stash
Pajama Crafter Stamps Product Used
When you shop using the affiliate links provided, I do receive a commission – at no additional cost to you. Thank you for supporting small business and project designers! Your support means so much to Pajama Crafter Stamps and to me.
Why This Multi‑Card Method Is a Game‑Changer
You’ll love this approach because it gives you:
- Build your card stash quickly
- Better use of coordinating products when you mix and match what you already have
- Duplication of design – simplifies the process and saves time
- Builds a cohesive set of cards to replenish your card stash or give as a gift
I love to have a stash of cards on hand! When I duplicate a design and mass produce, I can quickly pop a card in the mail or put together a gift pack.

Final Thoughts
Prep‑once cardmaking is the perfect blend of creativity and efficiency. With your bee‑themed palette, die cuts, honeycomb textures, and that irresistible bumble bee, you can create a whole hive of handmade cards from a single crafting session.
I hope that this post has inspired you to go through your stash and create your own card kits to help you build your stash quickly and efficiently. I would love to see what you create! Please be sure to share your projects in the Pajama Crafter Stamps & Friends Facebook group and tag @pajamacrafterstamps on Instagram when you post your projects.
Stay sparkly, Sandi (IG: sandi_powers_creates)
Leave a Reply