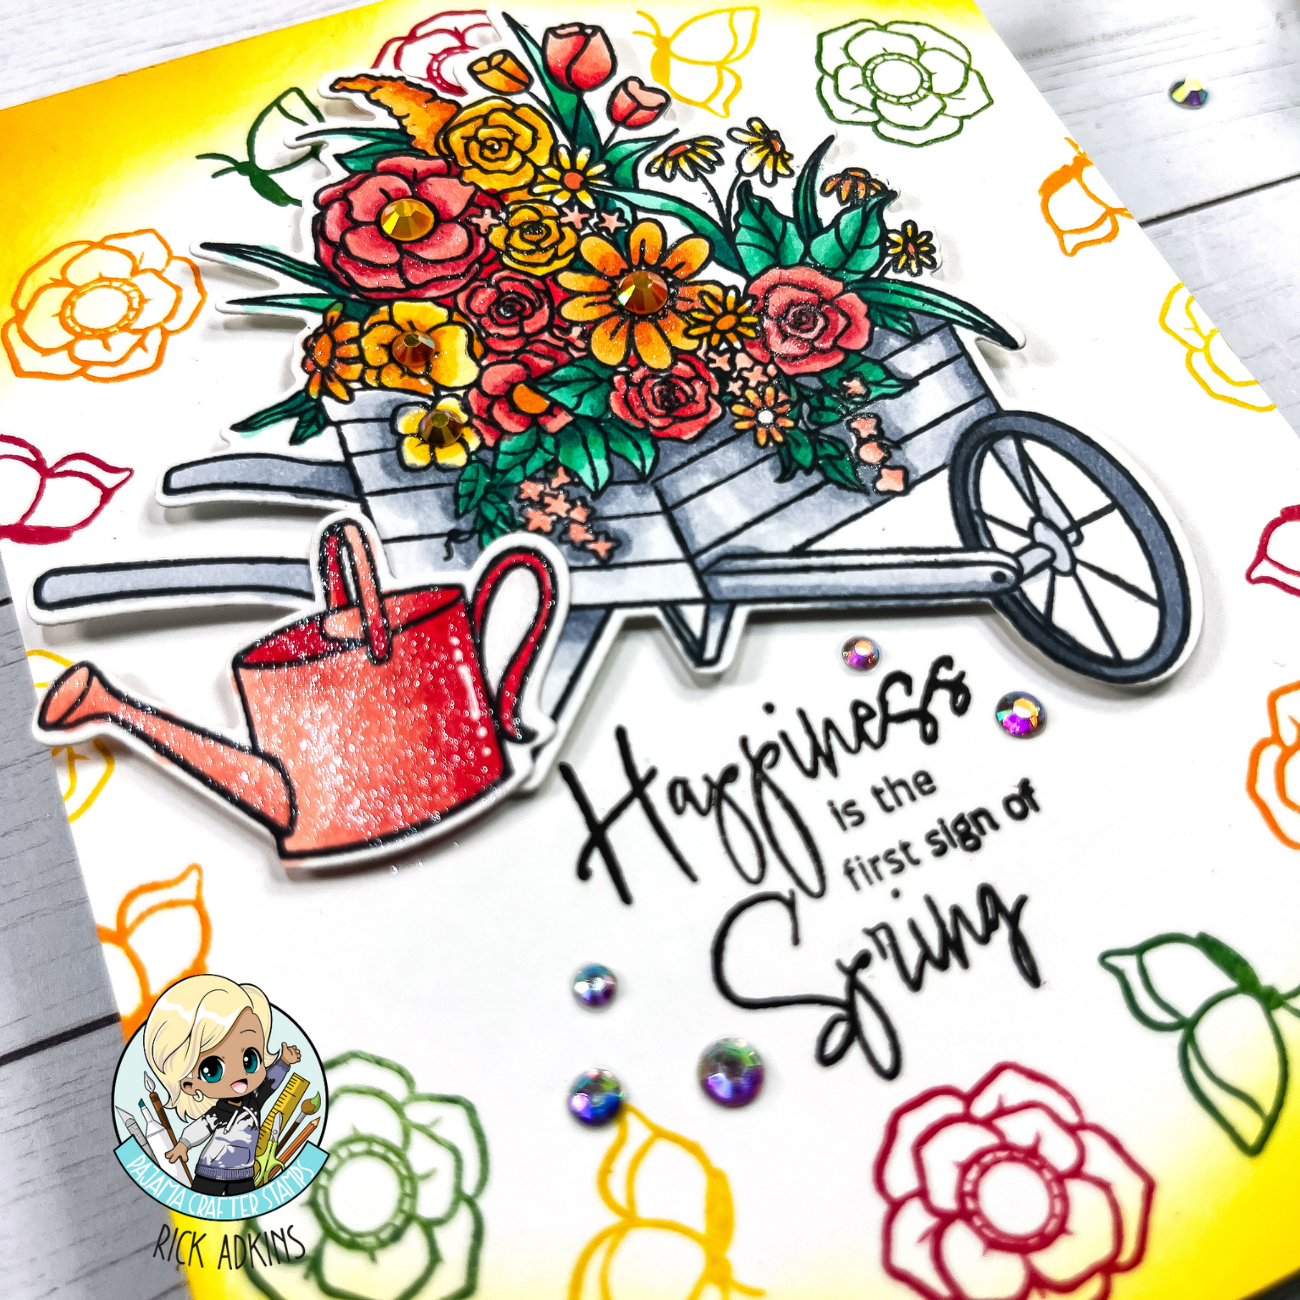
Hello and welcome to the Pajama Crafter Stamps Blog; it’s Rick back with you again to share another way to get creative using the In Full Bloom Bundle. This circle wreath card is based off of the card I shared yesterday but I wanted to share with you how I created the circle wreath from yesterday’s card on a different one. There’s also a step by step video tutorial below.

Get Creative: In Full Bloom Bundle Circle Wreath Card Tutorial:
My card today features the In Full Bloom Bundle. I am just loving this wheelbarrow full of springtime blooms. And let me just tell you that the design team is knocking it out of the park with all the beautiful projects they are creating using this fun bundle.
In Full Bloom Circle Wreath Card Video Tutorial:
If you have problems watching the video here on the blog you can always visit the Pajama Crafter Stamps YouTube channel and watch this video here! While you are there make sure to subscribe to the channel and share the video as well.

I started out this card design by stamping the wreath on the outside of an A2 size card front using Distress Oxide Inks. You will be able to see the colors used below in the supply list. As I mentioned in the video you can achieve this same look with other stamp positioning tools but you may have to turn your cardstock instead. It can be a little tricky but it can be done.

After the circle wreath on the card front was completed I stamped the floral filled wheelbarrow and the watering can from the In Full Bloom Stamp Set in alcohol marker friendly ink onto some alcohol marker friendly cardstock. I then colored the images with my alcohol markers and used the In Full Bloom Dies to cut out each piece. I placed my die cut pieces on the card front that was attached to my card base where I wanted my sentiment to go. I then stamped my sentiment in a nice black ink. I love a good crisp sentiment.

To finish off the card I added a few of the Lemon Twist Rhinestones to the center of some of the flowers in the wheelbarrow. I also sprinkled a few of the Fairy Dust Rhinestones around the sentiment. I am in love with the Fairy Dust Rhinestones, I just love how they catch the light and change colors depending on what you place them next to.
Thanks for dropping by today I hope that you have a wonderful day. I hope that you find my card and the video tutorial helpful. Happy crafting!
Affiliate Disclaimer:
Just a friendly reminder, as part of our commitment to transparency, please note that some of the links provided maybe affiliate links. This means that if you make a purchase through these links, The author may earn a small commission at no extra cost to you. Your support is truly appreciated!
Additionally, We kindly ask that you always accept the tracking cookie for the affiliate websites. Rest assured, this will not in any way expose your computer to viruses or compromise your information. It’s simply necessary for the company to attribute the sale to the affiliate, ensuring creators like myself receive their rightful commissions.
Thank you for being a valued part of our crafting community!
Supply List:

