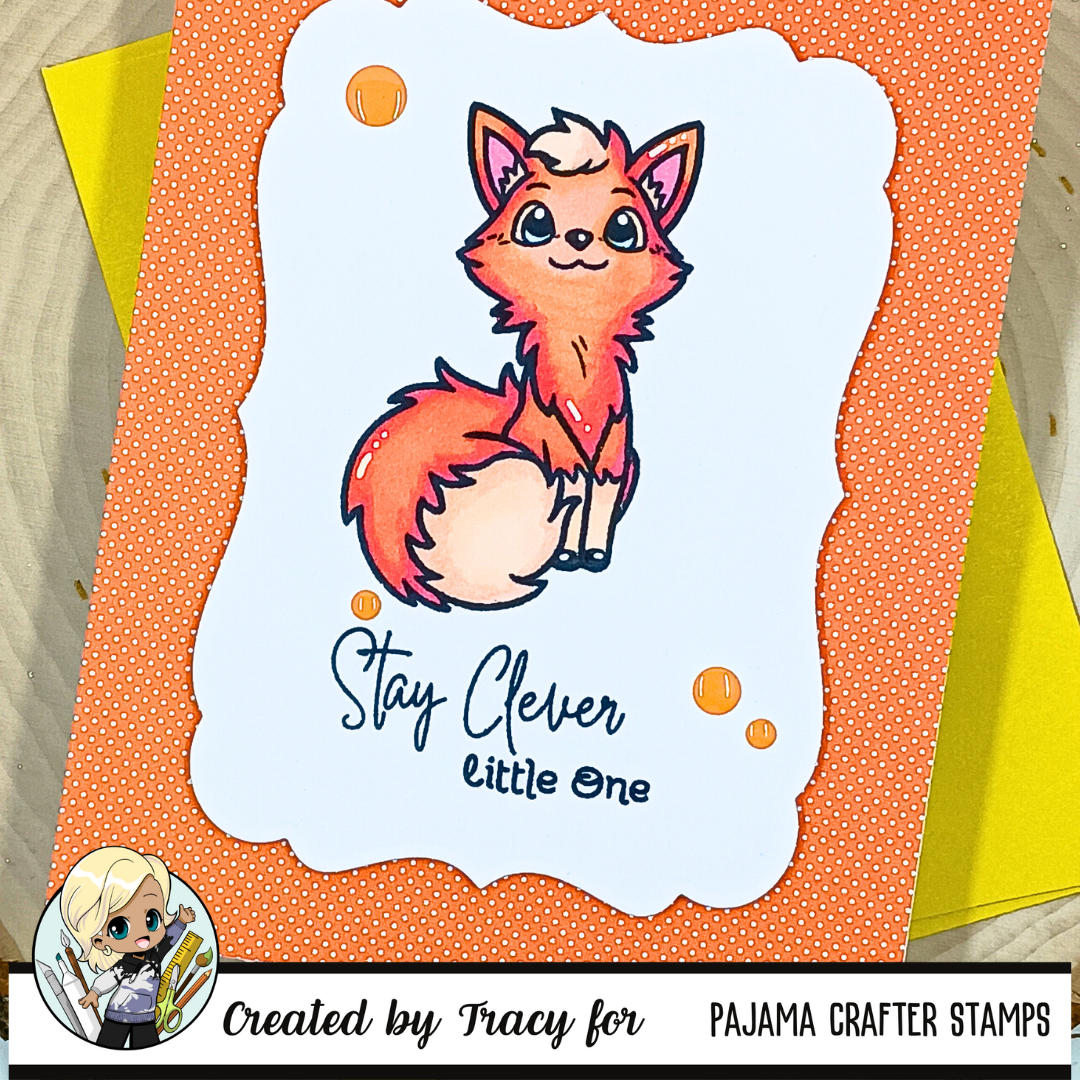
Hi friends! Do you love colored images but don’t know how to get there? Let’s do a simple tutorial!
When choosing the color, remember to not complicate it too much. I usually stick to one color for the majority of the image and then a darker color for the shadow. For the deer, I picked out the shade of brown I wanted but then choose two shades darker for the shadow. I then use the shadow color on the outsides only. There’s no or right way to do this. Just think about where your light would be and how the shadows would look in real life. After the shadows are down, use the main color to color your image, blending the darker color. Sometimes you may have to give the ink several minutes to “cure” for the image to look smooth. If you are seeing a lot of blotchy spots, you may need to go in with a colorless blender to smooth those spots out. Again, let that settle before moving on. I have walked away several times, upset about a colored image only to come back to see it has dried and become what I wanted. If you are coloring small areas, don’t worry about blending. It won’t be noticed and may cause bleeding onto other parts of the image. Adding a bit of white highlight to your image will add dimension. It can even clean up areas that you may have gone out of the lines.
The last thing I will leave you with is, practice practice practice! Use scrap paper and practice with different color pallets, markers and figure out what works for you.


Leave a Reply