Today I am going to share with you a tutorial for a Z fold card. I’ve seen many of these cards in many styles, especially on Pinterest. I adapted the fold to lie horizontally, not vertically, because the image I used fit better in a horizontal position.
For this tutorial you will need an 8 ½ x 11 piece of cardstock. I used kraft colored cardstock.
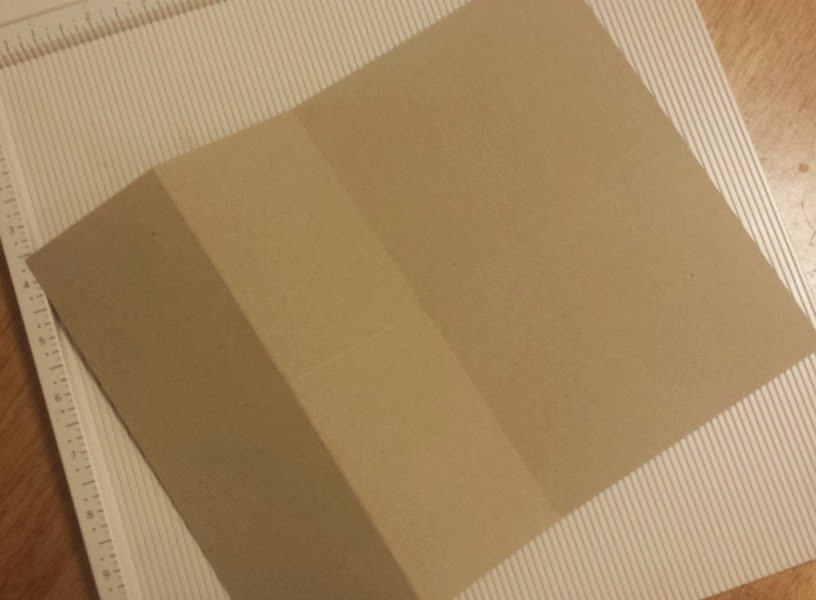
Lay the 8 ½ x 11 horizontally and score vertically at 2 ¾ and then at 5 ½ inches from the left. Then score down the middle horizontally at 4 ¼ .

Now cut out the top left corner that is the size 4 ¼ x 5 ½ .
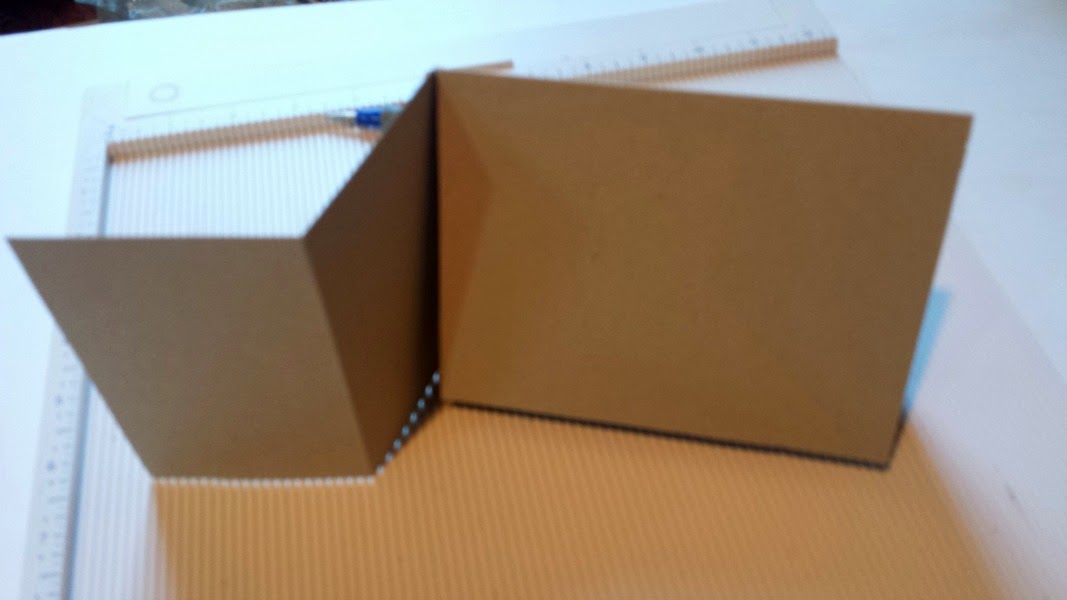
Fold down the top right flap which forms the card base.

Here is another view.

Now you can add paper and embellishments to the card.

Here is the card opened up.

And here is the card with the front right flap lifted up – where you can put a greeting or sentiment.


For this card I used GG0166 Little Girl With Rose Red Rubber Stamp, GG0189 Gather Love – Red Rubber Stamp.
I hope you have enjoyed this tutorial. Thanks for stopping by.
Have a wonderful day!!
Rene’
Comments
5 responses
What a pretty card! Love the cute fold which makes the card very unique and the stamps, sentiment and papers are just lovely! Another wonderful creation from Rene`…love your style!
wow!! this is very pretty!! love this card… thanks for the tutorial..
-Berina
Moxie Craftie
What a great card and tutorial! thanks for sharing
So sweet! Such pretty papers to go with beautiful image! Great fold!
OMG! this is so lovely Rene!